Facebook Pixel is a tracking code you can add to your website so that you can get a richer understanding of your customer demographics like gender, age, education levels, location and language as well as their journey across mobile and desktop devices wherever they are logged into Facebook. It also enables you to track your ad campaigns to understand the audiences you are targeting and how well your ads are performing. You can learn more about Facebook Pixel here.
Please note that both a Facebook Business Page and a Facebook Ads account are required to create a Facebook Pixel. If you don’t have either of both of these already set up you can follow our step-by-step instructions here:
Now we will show you how to create and install a new Facebook Pixel on your BigCommerce store.
1. Log in to Facebook Events Manager. Click the Get Started button on the right.

2. On the screen that pops up enter a name for your pixel and your BigCommerce store website domain then click the blue Continue button at the bottom right.

3. There are 3 options for installing a Pixel on your BigCommerce site. The easiest option is to choose the first one – Add code using a partner integration.

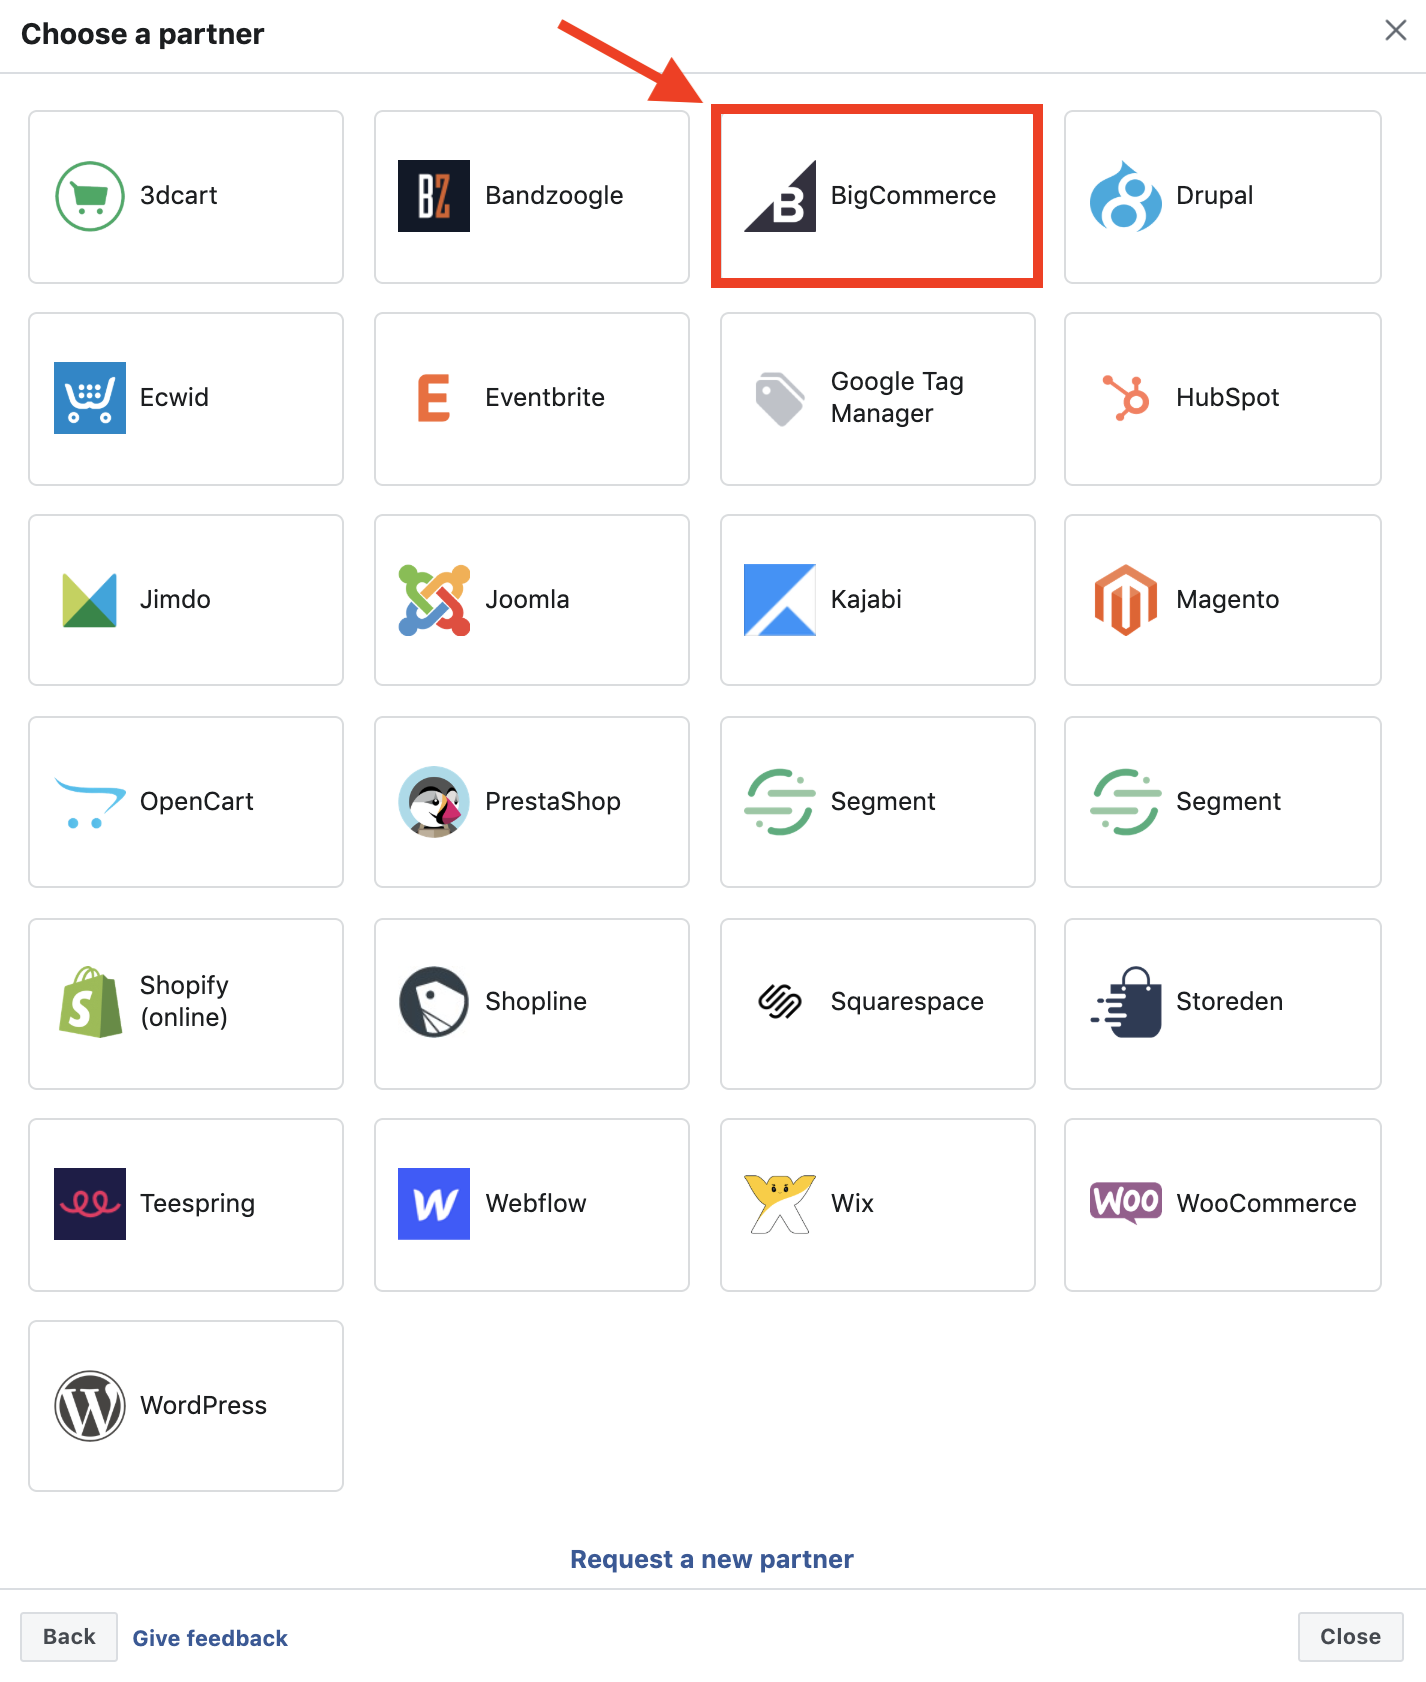
4. On the next screen select BigCommerce from the list of integration partners.

5. On the next screen click Continue. We recommend leaving the advanced matching switched on.

6. Login to your BigCommerce dashboard. Click Advanced Settings in the navigation menu on the left.

7. Select Web Analytics on the left menu then check the Facebook Pixel checkbox and click the Save button.

8. Click the newly created Facebook Pixel tab. Return to your Facebook Events Manager and copy your Pixel ID and paste it into the Pixel ID box. Click Save.

9. Return to your Facebook tab. Click Continue. Make sure your Pixel is set up properly by sending test traffic to your site. Type your BigCommerce store domain into the box and click the Send Test Traffic green button on the right. This will open your BigCommerce store website in a new browser tab.

10. Return to your Facebook tab. After a little wait you should see that the red dot has turned green and “No activity yet” has changed to “Active”. Click Continue.

11. You should see a message saying that your setup is complete.

That’s it! You’re all done. Give yourself a pat on the back.
